1. Open Original Photo
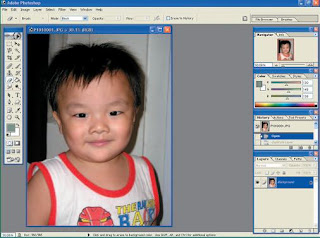
The first step is to open the image you want to be a sketch on the page color Adobe Photoshop. For photographs, business to use the photo close-up photos or the main object is the face of someone you want to make sketches. Do not use images that many other widgets such as images in the background with prominent photos or someone who is far. To open, Click the menu File | Open ... and navigate to the folder where the image is saved. Click the Open button, then open the image you directly.
2. Duplicate Original Photo
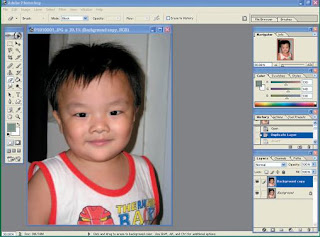
Once you open the original image, the next step is duplicate the image into a new layer. The aim is to cover the layer of the original with the new layer will be modified further. How to duplication, click and drag the layer thumbnail of the original icon to the Create a new layer. Momentarily and then will a new layer which is a duplicate of the original layer. In addition to this, you can also make them by clicking the menu Image | Duplicate ... after that click the OK button. Be a new layer.
3. Back Color Picture
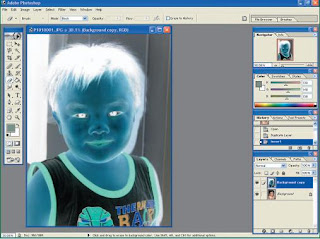
Once completed duplicate layer is created, the next step is to do your photos polarization reversal this. After this reversal, your photos will look like a film negative that is dominated by the black color with a few dominant colors are reversed. To reverse this duplicate layer Click menu Image | adjustments | Invert. Once completed, you will get your photos look like film negative. This step also can you do with pressing the button CTRI + I, the negative image you can get.
4. Remove Color
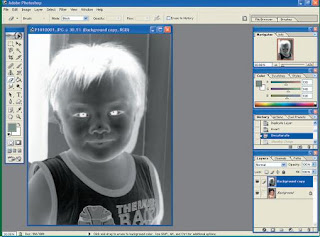
So after a film negative, the next step is remove all the colors in the image. The aim is to look like a sketch later. To remove all the color of this menu Click Image | desaturate. Or you can also do this by using the shortcut CTRL + Shift + U. After all you do, your photo is not a color that has left so looks like a film negative is not colored.
5. Change Blending Mode
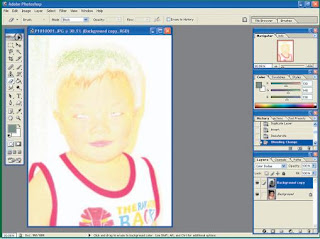
To further the process, you need to change the Blending mode of the duplicate layer. The goal is to duplicate the layer with the coloring layer integrates original. To change it, you click the dropdown menu of Layers tab (the default contents of the dropdown menu is Normal). Once clicked, there are many in Blending mode option, choose the Color option dodge. Right then, then you have duplicate layer integrates the color layer with the original image so that creates a unique blend.
6. Give the effect of blur
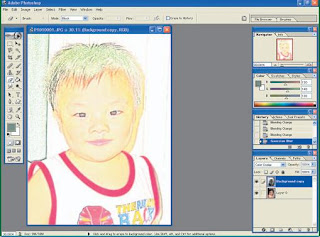
The last process is to give a little blur effect on the image that have now become more unique. Blur effect on the duplicate layer that has changed its Blending mode will give you this little picture colors of the original image. This can occur because the original photo is still there under the duplicate layer. To provide blur effects, the menu Click Filter | blur | Gaussian blur ... Once the settings window appears, Set Radius value as you want. Keep in mind, however, the higher the value, then the form will be the original coloration appears.
7. Sketsa You Ready
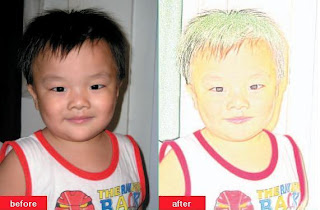
After all the settings you make, the effect of a sketch of your photos using the color of the pencil has been completed and you can enjoy. Sketches look quite real and can be said there is no change in the face object. You like a professional artist who is able to make sketches with very accurate. But to note is the blur effect that before you do, do not be too high because it will cause radiusnya sketches appear again as the image.
No comments:
Post a Comment