1. Go to Original Photo
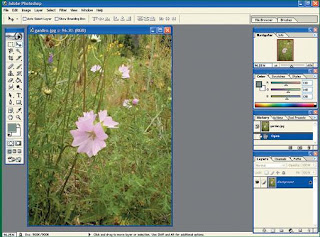
First steps to open this file with your own photo interest. How, Click the menu File | New, then right and then a file selection menu appear to. Browse and find photos that match you. After clicking OK, the flower is ready for processing the image further. The most important thing to note is the object of interest must be located in the area around the middle of the picture. This aims to be symmetrical so that the image when the inversion.
2. Main Duplicate Layer
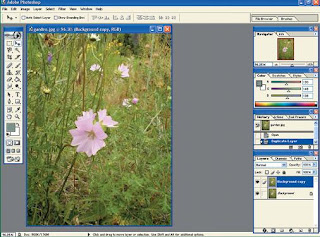
After the image appears in your original layer and a major. Click on the layer thumbnail in the layers tab. After the show option, option Click Duplicate layer. Shortly after clicked, duplicate the layer is ready to use. Another way to duplicate the layer is to click and drag the layer to the icon at the bottom of the tab layer. When the mouse removed, the layer directly duplication.
3. Back to Picture the opposite direction
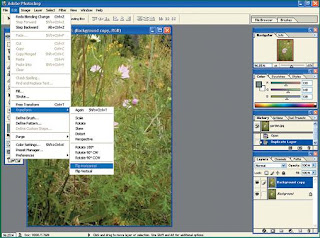
After getting duplicate layer, then the process is the reverse image is in the top layer. Inversion is done with the horizontal direction. Click the menu is the Edit | Transform | Flip Horizontal. After you have finished your interest in the image layer duplicate earlier results will appear to be upside to the horizontal. Because the main object in the middle, then the primary object's position is not far from the original image.
4. Change Blending Mode
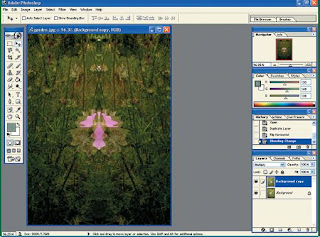
After the flower images on the new layer to be inverted, the next step is to change the Blending mode of the layer. The goal is to interest on the second layer can ignites but must incorporate them physically. Blending mode is Multiply. How to change them, click the dropdown menu in the layers tab (usually contains options Normal). After a lot of options appears, click the Multiply option. Once completed, the two images you've integrates with a few changes color. Value artistiknya started to show.
5. Tint Set Photos
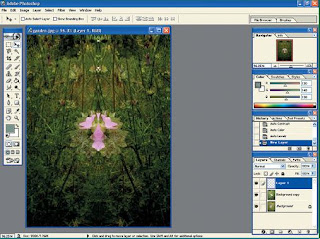
If not happy with the coloring and lighting that is inherited from the union, you can improve with the step is easy. Do color improvement, level, and brightness by using the Auto-level facilities, Auto Color, Auto contrast and. Click the menu is the Image | adjustments. Then select whether you want to use the Auto level, Auto contrast, or Auto Color. They should use only a little to improve your new image. The result is quite satisfactory.
6. Last modification
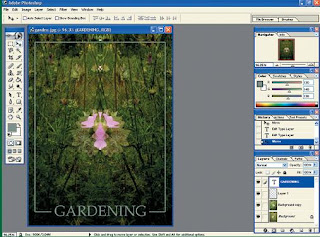
Until this stage, the interest you have an image appear more like the artistic form a new interest with a unique shape. To make it more interesting or processed for other purposes, modifi as you wish. At this practice, we create a border on the side-side picture, and given a bit of text on the bottom. The result is like a brochure or magazine page plant. You do not need to be glued to the ways of this modification, all depending on your needs and creativity.
7. Photos Now More Interesting
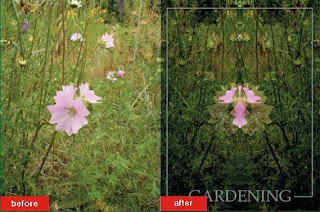
Once completed, you will get an image of interest with a new interest and not necessarily unique in this world. Photos of your old boring already started to show, why not be modified only slightly. With just a few easy steps, you can get a new picture with more artistic value.
No comments:
Post a Comment