1. Go to Original Photo
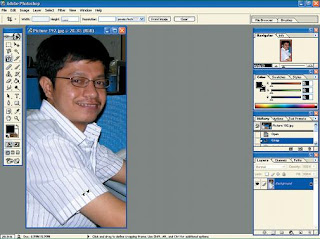
The first step is to open the image you want to edit. Keep the photos you want to change the image of this object with a quite prominent, for example, someone such as images. Try to avoid too many widgets on the background image. To be more easy for you to get this type of image, you can make to the cropping areas that are not important or even really clear the total background image, only the main object.
2. Duplicate Background Layer
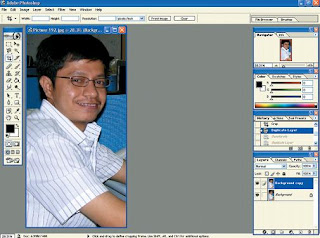
After it was found that the image fits your needs, start with a duplicate image into a new layer. Click the menu is the Layer | Duplicate layer ..., it will show a dialog box. Click the OK button on the dialog box, it will form a new layer which is a duplicate of the background layer. In addition to this, you can also duplicate this by clicking and drag the background layer to the icon will automatically duplicate the layer.
3. Desaturasi Duplicate Layer
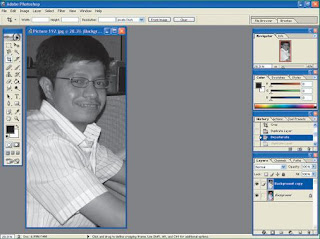
After the duplicate layer formed, the next step is remove all the colors in the image. The goal is not to be disturbed pencil sketches by colors that are in the photos. The way to do this is, click the Image menu | adjustments | desaturate. Then immediately the color of your images is not at all. You can also do this step by using the shortcut key CTRL + Shift + U, then the process can also run desaturasi.
4. Being upside Create
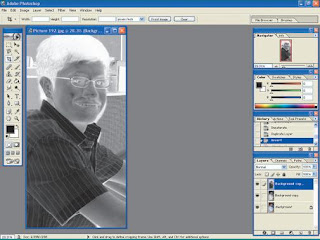
Now your photos are not colored at all. The only living black and white only. For processing into a sketch, you need to reverse this coloring. The aim is that all colors and lightening be turned, so that looks like a negative film. To do this, first duplicate the layer again be the top by using the same steps as step 2. After form new layer, Click menu Image | adjustments | Invert. Momentarily and then your image look like a negative film.
5. Change Blending Mode
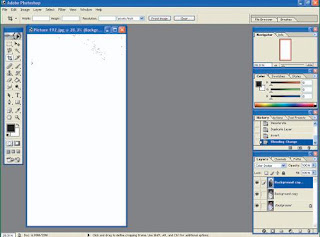
Once your photo into a negative film, the next step is to change the Blending mode so that it can be processed further. You must change the Blending mode Color photos into Dodge. How to change them is click the drop-down menu in the layer tab. Usually the drop down menu containing the options Normal. Once clicked you can see many options in it. Choose the option Color Dodge. Momentarily and then the image you have changed its Blending mode and wujudnya changed to white spotted black.
6. Give blur effect
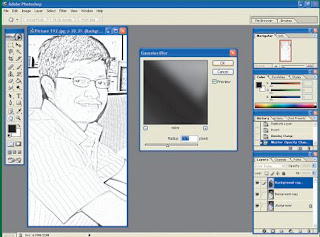
You now can not see objects that are in the photo is because most of the color is white. To bring back the item and its main trinkets its background, you must give effect blur. How, Click menu Filter | blur | Gaussian blur ... After setting menu appears, fill in the value of the parameter radius suit your needs. Preview this effect can be seen directly on your photos. Customize your needs, then click the OK button is now the main object will appear again with a new form.
7. Sketsa has Done
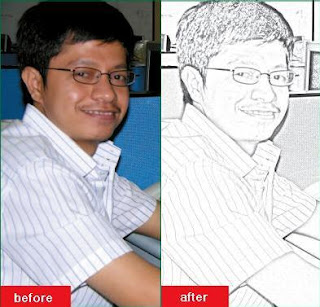
New form that you see at this time was like a sketch of your photos as possible to use the pencil. In it there is a pencil sketch and arsir that looks very realistic, because it is arsir dark and light in it. Shade arsir also did not escape, so the more details appear. Now you have a new form of old photographs that you appear boring. With sketches of the more artistic, you have a photo illustration of your face really looks like 100%.
No comments:
Post a Comment