1. Open the Photo no Straight
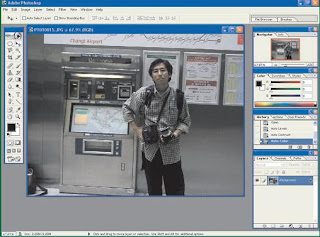
Open up the image of disability in the Adobe Photoshop. Photos can be any manifold, moving or still objects, scenery, faces, and more. Before the edit more information, you can make improvements to the color, image and contrast image so that its more comfortable to view. How easy it is to use the facility Auto Levels, Auto Contrast, and Auto Color. You can get all the facilities on the Image menu | adjustments.
2. Becoming Create Layer
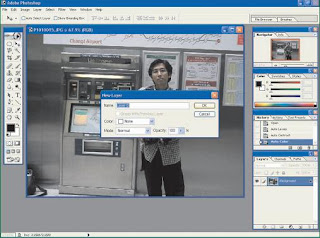
After the image is open and fixed, then the image is still diversiform Background and still locked so can not be modified. To change the image that this layer to be diversified. How, double click on the thumbnail on the Background tab layer. Once the settings menu appears, you can give it a name, background color, type, Blending, and the value of its opacity. After all you do is complete the settings, click OK. Layer Background can be edit with a liberal.
3. Line Measurement
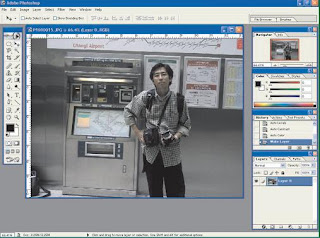
Photo of italics in this course need to Align. To make it straight, then the measure is needed as a reference tool and a simple measure. For that you can use the facilities provided by Adobe, the rulers. Click the View menu is the | only rulers or press shortcut key Ctrl + R. Right then will appear a line at the top edge and the left image. This line is very useful to make measurements simple. With the slope of this line image will be more visible.
4. Create Reference Lines
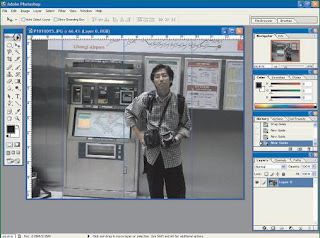
After create line appear in the edge-edge image, you can create a reference line to mark the process of streamlining this. To make it, create line Click on the edge-edge image. Then drag to the image area, the thin line will appear broken when the result will be a blue line. If you want to create a horizontal reference line, click and drag hatching the horizontal direction, as well as the vertical. Make necessary and the nature of this line is not permanent. You can be removed by clicking the View menu | Extras.
5. Start Align Images
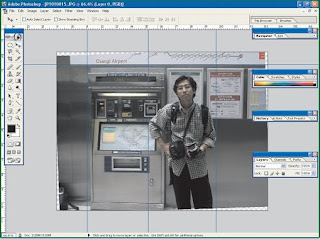
After the finish line reference is made, start align with the way this image transformation. How, click the menu Edit | Transform | Rotate. Once clicked it will be out four dots forming a square image on the fourth side. You can rotate the image by clicking the fourth this point. Click and drag in accordance with the direction you want. Rotate your photos to appear in accordance with the straight line reference that you made earlier. After the image is straight, press Enter, then the fourth point will be lost and the image that is straight.
6. Cover the Area None
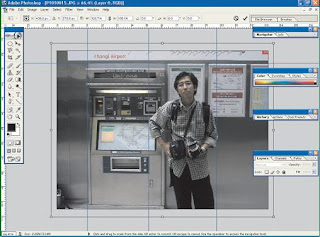
After playing the image, it will create an empty area. Because the area is no longer covered by the photos. To cover this area, you can do with the transformation of the image again. How, click the menu Edit | Transform | Scale. After editing the show to its starting point, drag the photos from all four sides. Drag the image up to cover the blank area above. Similarly, the other three can also be covered with interesting images to the direction. Once completed, press Enter, so that your photos are already covering the area is empty.
7. Better Photo
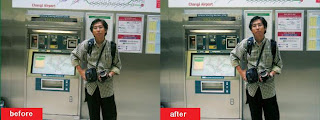
Now you have an image appear different from the previous. Although it still looks the same with the objects and attributes with the same inside, but the images appear more perfect because it is straightened. Images appear to have more symmetrical with the retaining proporsional to. Thus, now there is no longer disabled in the photo makes it appear that you do not feel seen. With a few easy steps, you can fix all your photos that are not even a deliberate deliberately italics.
No comments:
Post a Comment