1. Select a Web Component
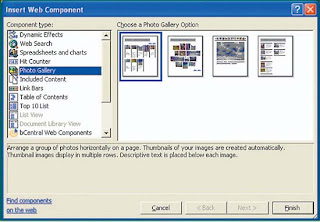
Run your application MS FrontPage. Then open the page that you enter the gallery images. Or you can create a special page that will load only the content images only. After that, select Insert, Web Component, and select Photo Gallery, then press Finish. Usually for you from the beginning was to create personal site using FrontPage, you will get a one-page special bernamakan photo. You can use the page as a photo gallery that will be created.
2. Enter Photo 1
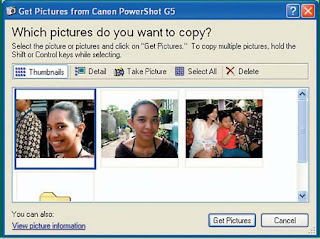
After you have finished selecting the components, it will open a special page to start to fill and the contents of the photo gallery. However, as a first step, you must enter the picture, or the photos first. When the image is still in the camera or on the scanner, then click the Add button, select Pictures from Scanners or Cameras. Then select the appliance, then select the image you will be entered, and press the Get Pictures button. Once completed, the images will be included in the list to a picture on the left. If there is an image that will be deleted, select the image and press the Remove button.
3. Enter Photo 2
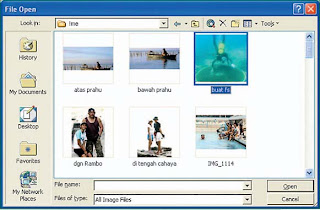
When the image is not from a camera or scanner but it's already in your computer, then click the Add button, select Picture from Files. After that, you can determine the location of the folder where you save the image. Then select the photos after the press Open. You can select more than one photo at a time, by pressing the Shift key or Crtl. If there are images that are not so placed, just select the image and press the Remove button. And if you have an image that will drag to the top, select the picture, then press the Move Up. Conversely, if to press the button down Move Down.
4. Edit Picture
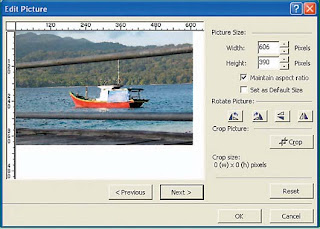
When you have a photo or image that has not yet had time to edit, you can do so directly through this before MS FrontPage to upload photos. I select the image you want to edit, and press the Edit button. Editing a page on this, there are some simple things you can do. Such as changing the image size or image size by entering a value in the Picture size. Or rotate the picture by pressing the play button on the Rotate Picture. And the last is to do cropping on the image by pressing the button Crop. When you are finished just press OK.
5. Edit Thumbnail
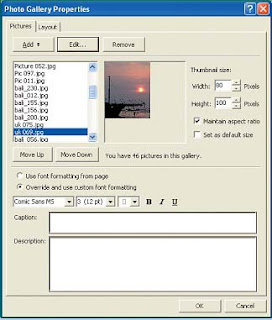
The first image that will appear on the page Photo Gallery is not the original image, but from the thumbnail images of the original. Thumbnail images is what will become a shortcut to view the original image. And this on a thumbnail, does not mean you can not be set. You can specify the desired thumbnail size. By entering a value in the Thumbnail Size. If you want to maintain the aspect ratio of the image, then provide first-check () box maintained at Aspect Ratio. And if you want to be a standard size for all the thumbnail, only a sign on the box set as the default size.
6. Insert Caption
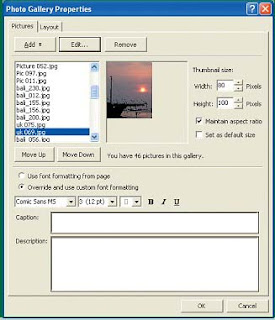
You can also complement each photo with the caption and image. And format for its caption, you can choose to use the same format with the format of the page or you want to use the format itself. When you want to use the same format with front page. Select the option Use font formatting from page. When you want to use their own format select override and use custom formatting, and then select the file format. Starting from the type of font, size, until
font color. You can also use the Bold, Italic, and Underline.
7. Select Layout
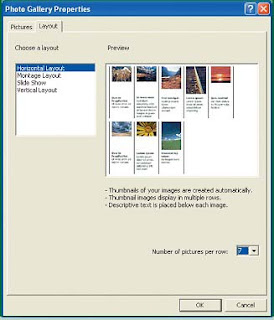
In fact at the Photo Gallery is selected, you can directly select the desired layout. However, you can change the layout or simply set the layout is better again. Do enough to open a page layout. Then on the left part, choose a layout that will be used. To a certain layout-layout Horizontal and Vertical layout, you can set the number of images on each line. By entering a value that is the number of images on the box number of pictures per row.
No comments:
Post a Comment